

Learn Android Development
- romesh.singh.sapehiya
- Jan 27, 2019
- 2 min read
This is the #android #development sample for beginner who want to learn the android from basic.
Set up Development #Environment:
1. Android Native app development official possible on android #studio IDE. That you have to download from this link
https://developer.android.com/studio/
2. Install this on your system from this link.
3. Now download Java development kit from this link
https://www.oracle.com/technetwork/java/javase/downloads/jdk8-downloads-2133151.html
4. Install this #jdk on your system.
5. Now open the android studio and type the app name like Android Demo App and also add the package name com.app.packagename you can also take this as per your taste not any issue

6. If you want to develop app in Kotlin language then check the checkbox for Kotlin option "Include #Kotlin support". Then click on Next button.
7. Now new #dialog window will open for you here you can see five options. By default Android Tablet and Phone app you can develop. If you want to develop app for multiple segment then you can checked all but this tutorial for android phone and tablet only.

8. From drop down you can set minimum #version support for your app like this

9. Click on Next button then new window will open here like this

Here you can select one option at a time as you want. I select from this blank activity then click on Next button.

Here you can see two options coming one MainActivity and second activity_main. If you want to do change then you do else go on finish button.
Now your project creation process completed. Before go familiar you have to lean about project repository.
A. Android Manifest file: This is android app controller file with name of #AndroidManifest.xml exist in each app. Here you can add permission, Activity,Intent Filter, Broadcast receiver and Service etc.

B. Java Class where we write the code for app development all functionality added here in this class in base level.

C: xml class where we design the layout for mobile app development

D: This is the drawable folder where we add image resources for app designing

E: This is the color class where we can add and change the color code for app designing.

F: Here we can write strings for app.
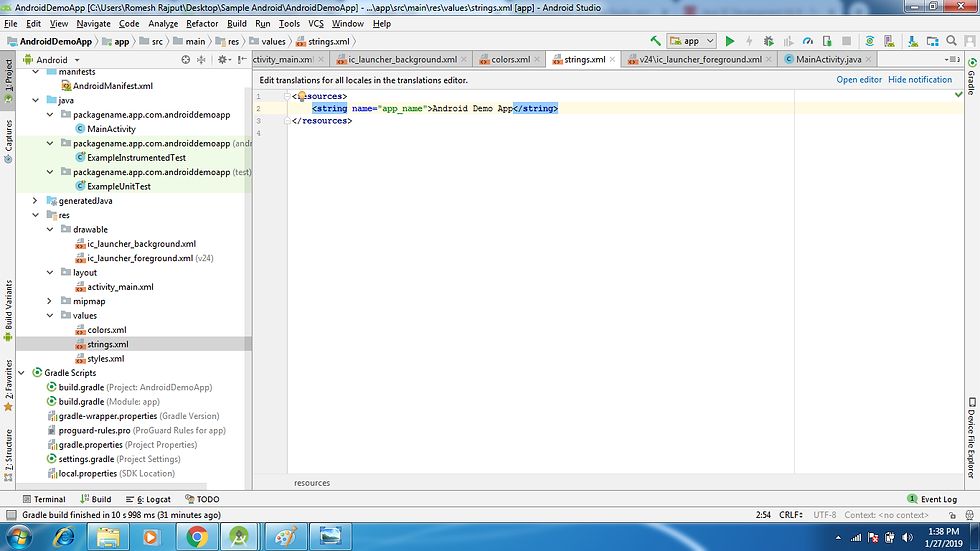
G: In this class we can add the custom theme for app:

H: This is #gradle build for app module level. here we add dependencies for app its specially both for android designing and java code side library if we have to use in app then add these under dependencies section with implementation prefix tag.
You can reset target app version and minimum version also for app.

I: This is app level gradle file where we can upgrade and downgrade the project gradle version
from this syntax classpath 'com.android.tools.build:gradle:3.2.1'
like this classpath 'com.android.tools.build:gradle:3.0.1'
J: Here you can run the app with emulator and device in both ways. When you click on run button then this type screen will open

Then click on Ok Button your app will run on device like this.
Image before click button

You can see that result on button text has been changed.

So in this was you can develop app from basic to very advanced level as see in some below pics

Thanks to visit my block. Have a great day. :)

I found it helpful. Its nicely described with screen shots. Thanks for such detailed information...